


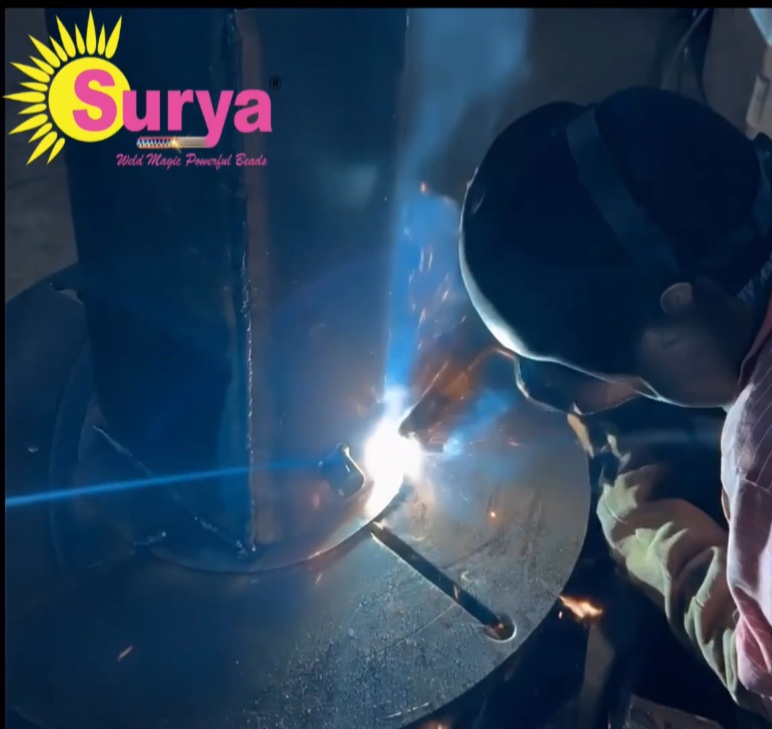
Set-up circle welding with non-stop finishing:
🔧 1. Understanding Circular Welding
Circular welding (or circumferential welding) is used when two round parts are joined — typically in pipe-to-pipe, pipe-to-flange, or pipe-to-fitting connections.
Two main methods:
• Manual welding: The welder moves around the pipe or rotates it.
• Automatic / mechanized welding: The pipe rotates under a stationary torch or vice versa.
⸻
🔄 2. Non-Stop (Continuous) Welding
A non-stop circular weld means the welding arc is maintained continuously around the full 360° joint without breaking the arc.
Key requirements:
• Uniform travel speed — ensures even penetration and bead appearance.
• Consistent arc length — prevents burn-through or undercut.
• Proper positioning — depending on the weld position (1G, 2G, 5G, or 6G).
⸻
🧭 3. Welding Positions
• 1G (Rotated position): The pipe rotates under a stationary torch. Easiest for non-stop welding.
• 2G (Fixed horizontal): The pipe is stationary, torch moves around. Trickier for non-stop welds.
• 5G (Fixed vertical): Pipe is fixed horizontally; weld progresses around top, sides, and bottom.
• 6G (Inclined 45°): Most challenging; used for welder qualification.
For true non-stop welding, 1G (rotating) is ideal — the pipe rotates smoothly while the welder maintains a constant torch position.
⸻
⚙️ 4. Recommended Equipment
• Rotator or positioner (for 1G setup).
• TIG, MIG, or SAW machine with stable arc.
• Automatic torch carriage for consistent travel speed (optional).
⸻
💡 5. Tips for a Perfect Non-Stop Circular Weld
• Ensure perfect alignment and tack welds before starting.
• Set start and stop points to overlap slightly (1–2× bead width).
• Maintain constant wire feed and voltage.
• Purge gas if it’s stainless or alloy pipe (for TIG or MIG).
• Monitor heat input to prevent warping


